Let's start today's lesson by playing and getting used to our pens.
Here is the last post if you need to review or have questions about the workbook supplies and pages. For August we are using the following three Copic colors:
- 0 - Blender Pen
- R29 - Lipstick Red
- Y17 - Golden Yellow
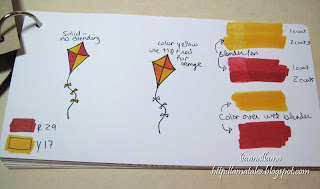
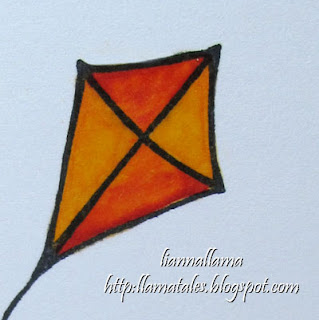
Start by stamping the kite image using Memento Black ink and let it dry. In my workbook I like to label images as I color them by using the Copic Multiliner. This is a waterproof pen that will not smear when you use your Copic Markers over it. I can draw lines, take notes and then color over it just like I can with the Memento ink. Make a habit of making color swatches like I did on the bottom left. That way if you want to replicate a look later you know exactly what colors you used.
 |
| Workbook Page1 |
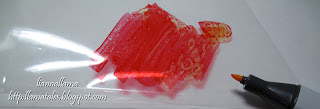
The kite on the left I colored using the markers with solid colors and no blending. The kite on the right uses some blending techniques. I colored the whole kite with yellow and then I blended using my yellow pen and picked up red ink from a palette onto the yellow pen to make orange. I made a palette by scribbling some red ink onto a piece of plastic. Any plastic will do, including an acrylic block, plastic palette or a scrap of a cellophane wrapper.
 |
| Palette Blending |
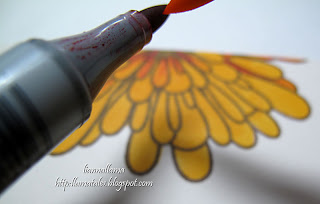
A second way of blending is the tip to tip method where you pick color directly from the tip of your dark marker onto your light marker and use it to color. The best part about using Copics instead of water-based markers is you can wipe off the excess color onto your paper when you are done and the marker is as good as new! The ink does not stain the marker when you blend colors. Try it out and be sure to practice because with blending you will get better with more you do it.
 |
| Tip to Tip Blending |
Use your workbook to practice blending and be sure to play with the pens. Look at the right side of my workbook page and see how I experimented with different layers of marker. Letting each coat dry before adding another will make a darker color that you can use to subtly deepen shadows without having to use a darker color pen. The blender pen acts as a sort of ink-removal system so you can use it to erase or lighten colors for highlights. If you color over the wet blender, it acts as a sort of primer and helps spread the ink over the paper for easy blending.
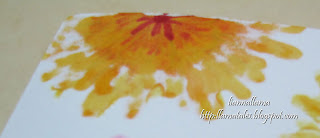
If your paper gets too wet the ink may start to spread too easily; simply let it dry and then you can use your markers again to re-blend and fix anything you want. If your coloring is not solid and looks streaky then you are not using enough ink. Be sure to saturate the paper thoroughly and the ink should show through on the back (unless you are using extra-thick paper). Don't be afraid to use lots of ink because your paper will not pill and tear the way it does with regular water-based markers.
 |
| Back side of colored flower |
Once you have had a chance to play then you can color the image for your card and finish it!
 |
| Detail of finished colored image |
Kite Card Supplies Used:
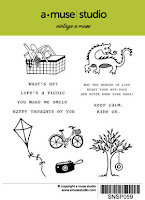
- Vintage A Muse Stamp Set
- Paper - Sugar, Orange, Cranberry
- Gingham Paper - Orange
- Memento Black Pad
- Copic Marker - Colorless Blender
- Copic Marker - Lipstick Red
- Copic Marker - Golden Yellow
- 3D Foam Adhesive
- Nestabilities Scallop Rectangle - Small
 |
| Marvelous Marigolds |
 |
| Vintage A Muse |
|
I will be holding a monthly workshop in my home in Huntington Beach, CA so let me know if you want to join me.


No comments:
Post a Comment